A contractor’s reputation rests on the leaks that never happen. Nobody thanks you for a dry basement, but everyone remembers a wet one. Waterproofing for home renovation and construction separates careful professionals from the rest, yet many crews treat it as an afterthought. This guide gives you a repeatable, five-step workflow — assess, select, prepare, install, test — so every project leaves the site dry and your liability stays low.
Step 1: Assess the Building Before You Promise Anything
Start with an honest walkthrough. Identify every water source that can reach the structure: wind-driven rain, groundwater and capillary rise, plumbing failures, and interior vapor. Each source demands a different defense, so misdiagnosis leads to the wrong system and an expensive callback.
Check the existing evidence: water stains, efflorescence on masonry, musty smells, peeling paint, and cracks in foundations or render. Measure the substrate condition — loose material, grease, and moisture defeat any membrane. Finally, review the drainage: gutters, downspouts, grading, and weep holes all work together with the waterproofing layer. Fix drainage first; otherwise, every waterproofing system works under avoidable stress.
Step 2: Match the System to the Surface
Waterproofing for home renovation has no universal product. The right choice depends on the surface, the exposure, and the budget. Use this quick matrix as your starting point:
| Project zone | Recommended system | Key material factor |
|---|---|---|
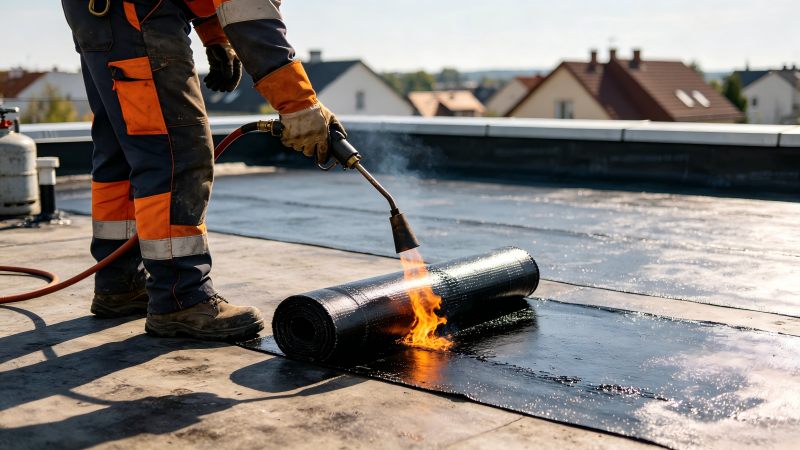
| Flat roof / terrace | SBS or APP modified bitumen membrane | Reinforced carrier for dimensional stability |
| Bathroom / wet area | Liquid-applied coating + membrane under tiles | Flexibility and adhesion to substrate |
| Basement (below grade) | Positive-side membrane or crystalline coating | Puncture resistance against backfill |
| Balcony / deck | Torch-on or self-adhesive membrane + slope | Tear resistance during installation |
| Interior walls (vapor) | Vapor barrier on the warm side | Low permeability, sealed laps |
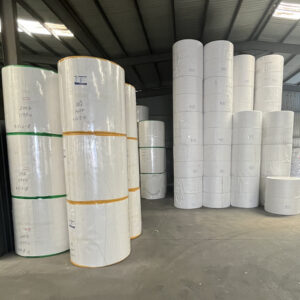
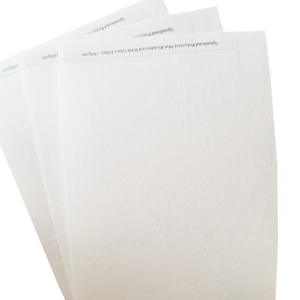
Notice the common thread: every membrane system depends on its internal reinforcement. The polyester mat or compound base mat inside the sheet carries the tensile loads and keeps the membrane dimensionally stable, so the system performs exactly as specified. NRCA publishes detailed guidance on roof system selection and installation that complements this planning step.
Step 3: Prepare the Substrate Like It’s the Only Step That Matters
Membranes fail on dirty, damp, or cracked substrates — not on the membrane itself. Follow a strict preparation sequence on every job:
First, clean the surface completely: remove dust, grease, old coatings, and loose particles. Second, test for moisture with a moisture meter; wet substrates trap water behind the membrane and cause blistering. Third, repair cracks and level depressions, then allow repairs to cure fully. Fourth, apply primer where the manufacturer requires it — primer creates the chemical bond the membrane needs. Finally, protect the prepared surface from rain and foot traffic until installation begins.
Skipping preparation saves an hour and costs a year. Build the discipline into your crew’s standard routine.
Step 4: Install With Discipline
Installation quality decides the system’s lifespan. Keep these rules visible on every site:
Sequence the work. Install waterproofing before finishes, and complete the drainage details — outlets, scuppers, gutters — at the same time.
Detail before you cover. Pre-treat corners, pipe penetrations, and wall transitions with reinforcing strips and sealant. Water finds every gap, so detail points deserve more care than the field.
Respect laps and seams. Overlap side and end laps exactly per the manufacturer’s specification and bond them completely. An unsealed lap acts as a capillary path for water.
Work within temperature windows. Modified bitumen stiffens in cold weather and becomes difficult to handle in extreme heat. Schedule roofing and balcony work for mild conditions, or use self-adhesive membranes that avoid open-flame hazards on occupied homes.
Create positive drainage. Slope flat surfaces 1–2% toward drains so water never ponds on the membrane.
When you specify the membrane, remember that the carrier fabric determines long-term behavior. Our guide on how mat strength translates into membrane performance explains the link between the hidden layer and real-world durability.
Step 5: Test, Document, and Hand Over
A waterproofing job only finishes after you prove it works. Flood-test flat roofs, balconies, and bathroom floors by damming water 25–50 mm deep for 24–48 hours and inspecting the spaces below for leaks. Fix any failure while access costs nothing, then re-test.
Documentation protects you as much as the homeowner. Photograph every stage — substrate prep, detailing, membrane laps, and the flood test. Record the materials, batch numbers, and application dates. Keep the manufacturer’s datasheets and warranty certificates in the handover file. When a dispute or a claim appears years later, your records settle it.
Hand the homeowner a simple maintenance checklist: keep drains clear, inspect sealants annually, and avoid puncturing the membrane with fixtures or planters. Most waterproofing failures trace back to post-renovation abuse, and a one-page instruction sheet prevents most of it.
Budget Realities: Where Waterproofing Sits in a Renovation Budget
Waterproofing typically represents a small fraction of a renovation budget, yet its failure costs multiples of the entire project value. Consequently, resist the temptation to trim material costs on hidden layers. The reinforcement inside a membrane, for example, varies in quality more than the surface finish suggests; testing nonwoven quality and checking gram weight reveal what you actually pay for.
Build waterproofing into your quote as a line item, not an allowance. Clients accept the cost when you explain the guarantee behind it: “this system carries a manufacturer-backed warranty and my crew’s documented installation.” That sentence converts a cost objection into a quality purchase.
Build a Waterproofing Standard for Your Crew
The best crews turn waterproofing into a checklist, not a memory. Write a simple SOP: assessment form, system selection matrix, substrate preparation checklist, installation rules, and a test-and-handover pack. Train every installer on it and audit jobs against it. When you find a recurring issue — say, failed laps at corners — update the SOP so the mistake happens once.
Reliable suppliers make the standard easier to hold. Weifang Guanlong Waterproof Material Co., Ltd. has manufactured waterproof membrane base materials since 2005, producing the polyester mat and compound base mat reinforcements inside the membranes you install. Understanding what sits inside the sheet lets you specify with confidence; contact the Guanlong team for technical data, samples, and guidance.
Frequently Asked Questions
1. How much does waterproofing add to a home renovation budget?
Waterproofing usually accounts for a small percentage of total project cost — often in the low single digits for standard zones — but the cost of failure (repair, rework, and damage) can exceed the entire waterproofing budget many times over.
2. Do I need a vapor barrier in addition to waterproofing?
Often yes, in different locations. Waterproofing stops liquid water, while a vapor barrier slows moisture vapor diffusion inside the assembly. Vapor barrier basics explain when each layer applies.
3. Can I install waterproofing membranes in cold weather?
Most modified bitumen products require a minimum application temperature, often around 5°C, because adhesion suffers in the cold. Schedule installation for mild conditions or choose self-adhesive products with a wider working range.
4. What should I document for warranty claims?
Photograph each installation stage, record material batch numbers and application dates, keep datasheets and certificates, and retain the flood-test results. This file protects both you and the homeowner.
5. How do I choose between SBS and APP membranes for a home project?
SBS membranes offer better elasticity and low-temperature flexibility, which suits most residential roofs. APP membranes excel in heat resistance, making them a good fit for hot climates and high-temperature areas. Match the polymer to your climate and substrate.
6. Does the membrane carrier fabric really matter for a small home project?
Yes. The carrier fabric carries tensile and puncture loads; a weak carrier stretches or tears even on small roofs. Quality reinforcement — polyester mat or compound base mat — keeps the membrane flat and watertight for decades. Learn more about waterproofing basics and how to verify material quality.
Conclusion
Waterproofing for home renovation and construction rewards contractors who treat it as a system, not a product. Assess the building first, match the system to the surface, prepare the substrate without shortcuts, install with discipline, and prove the result with testing and documentation. Add a crew standard and dependable suppliers, and waterproofing stops being a risk — it becomes a competitive advantage that keeps your reputation dry and your callbacks at zero.